


Introduction: Welcome to our step-by-step guide on uploading your CodeIgniter 4 website to Hostinger. Hostinger is a popular hosting provider that offers an easy-to-use control panel and reliable services. By following these instructions, you'll have your website up and running in no time. Let's get started!
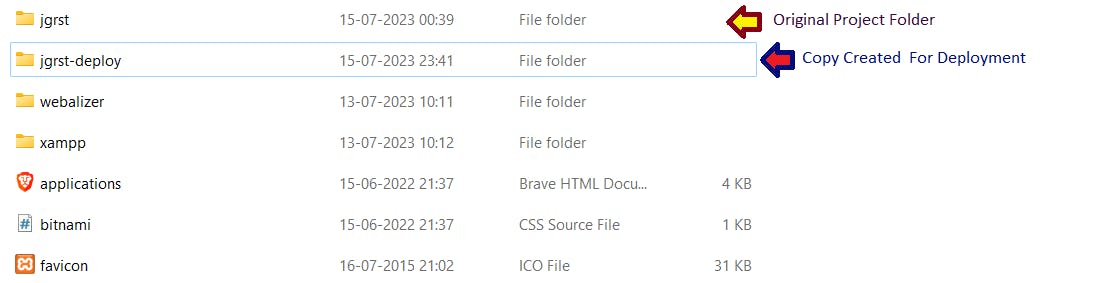
Step 1: Prepare Your Project Before beginning the upload process, it's crucial to create a backup of your CodeIgniter 4 project on your local system. This ensures that you have a copy of your files and prevents any data loss during the upload.

Step 2: Update Configuration Open your CodeIgniter 4 project in your preferred code editor. Locate the "env" file and rename it to ".env". This step activates the environment configuration. Open the ".env" file and change the value of CI_ENVIRONMENT from "development" to "production". This sets your website to run in the production environment.

Step 3: Update Dependencies Navigate to your project's directory using the terminal or command prompt. Execute the following command to update your project's dependencies without dev packages: composer update --no-dev. This ensures that only the necessary dependencies are included in the production version of your website.

Step 4: Create Zip Files In your file explorer, create two separate zip files. The first zip file should contain the contents of the "public" folder. The second zip file should include all folders except the "public" folder.

Step 5: Upload Files to Hostinger Log in to your Hostinger account and access the cPanel for the website you wish to manage. Locate the "public_html" folder and upload the zip file containing the contents of the "public" folder. Once uploaded, unzip the file, ensuring that all files are directly placed in the "public_html" folder. Next, navigate back to the home directory and upload the second zip file. Extract the files here, creating a separate folder for your project.
Step 6: Update File Paths Open the "public_html/index.php" file and modify the following line to reflect the correct location of your unzipped home folder: (Index.php file on hostinger /other platform)
coderequire FCPATH . '../your_unzipped_home_folder_name/app/Config/Paths.php';
Update Base Url:

Additionally, open the "app/Config/App.php" file and update the baseURL configuration to match your website's domain.
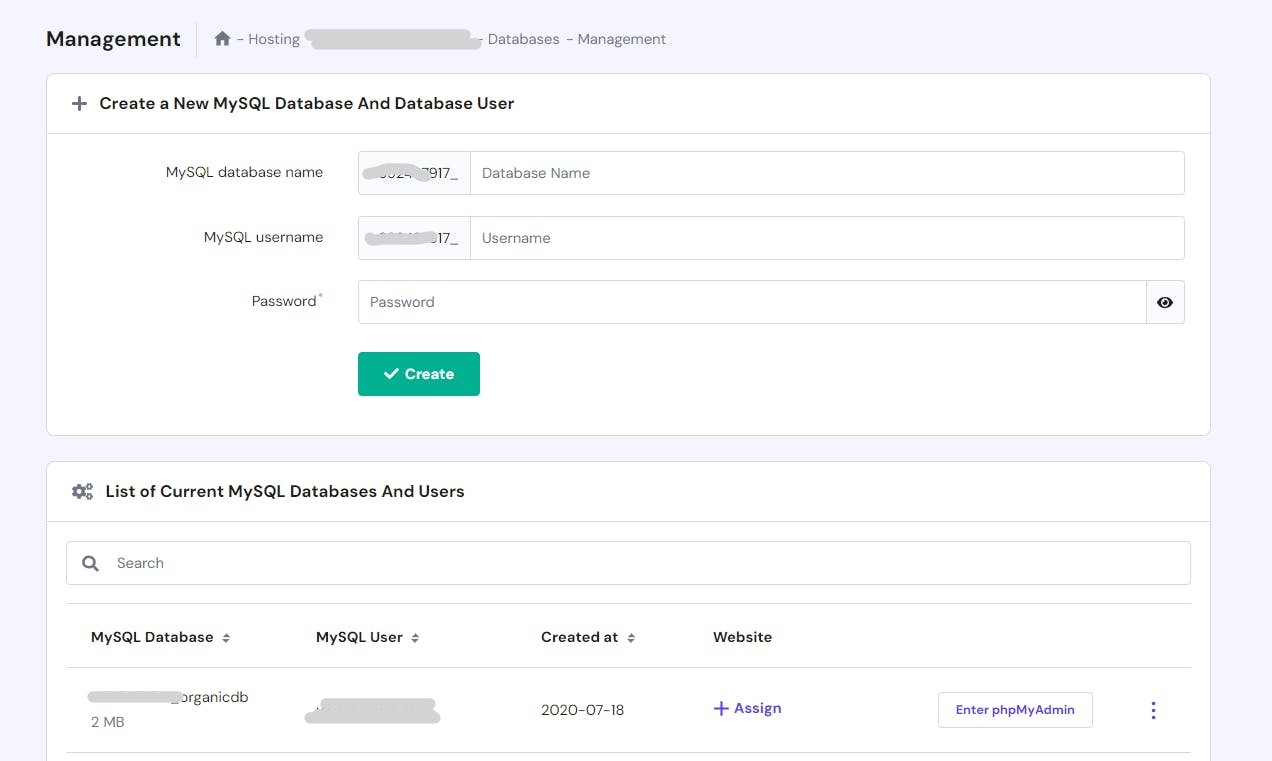
Step 7: Set Up the Database Export your local development database as a .sql file. In Hostinger's cPanel, create a new MySQL database and database user using the database manager. Access the phpMyAdmin for your Hostinger database and import the .sql file to recreate your database's structure and data. Finally, update the database configuration in your CodeIgniter project by modifying the values for username, password, and database in "app/Config/Database.php".

Step 8: Test Your Website Congratulations! Your CodeIgniter 4 website is now uploaded to Hostinger. You can test your website by accessing it using your domain name. Ensure that everything is functioning correctly.
Conclusion: By following these steps, you've successfully uploaded your CodeIgniter 4 website to Hostinger. Remember to create backups, update configurations, and carefully upload and configure your files and database. Hostinger's user-friendly control panel makes the process straightforward. Now you can showcase your website to the world with reliable hosting services provided by Hostinger.